


 Call
Call 
 Access Your Account
 How to Set Up Your Internet: Quick Guide for All Connection Types

Table of Contents
Are you trying to figure out how to set up your internet? If you’re moving into a new place, just switching providers, or upgrading your equipment, self-installing your internet connection can save you both time and money on technician fees.
We’re walking you through everything from unboxing to successful streaming below.
[search_block]
What You’ll Need to Set Up Your Internet
Before diving into the installation process, gather the essential equipment and information you’ll need:
- Your modem (provided by your internet service provider (ISP) or purchased separately)
- A wireless router (if not built into your modem)
- Coaxial cable, phone line, or fiber optic cable (depending on your connection type)
- Ethernet cables for wired connections
- Power adapters for your equipment
- Your internet service provider’s account information and activation details
Most internet providers send self-installation kits that include everything you need. Make sure to review any setup instructions or activation codes included with your equipment before beginning.
Setup by connection type
Understanding Your Internet Connection Type
Different types of internet connections require slightly different setup processes. Here’s what you need to know:
Cable Internet: Uses a coaxial cable that connects to a cable outlet in your wall, similar to cable TV. This is one of the most common connection types for home internet.
DSL Internet: Connects through your home’s phone line using a special filter and phone jack. DSL is an older technology, but it is still widely available in many areas.
Fiber Internet: Requires a fiber optic cable and often an Optical Network Terminal (ONT) installed by the provider. Fiber offers the fastest speeds but isn’t available everywhere yet.
Fixed Wireless: Less common for home use, but it connects through a receiver that communicates with nearby transmission towers.
Knowing your connection type helps you identify the correct ports and equipment you’ll be working with during installation.
Step-by-Step Internet Installation Process
Step 1: Find the Right Wall Connection
Start by locating the appropriate wall outlet for your internet type. For cable internet, look for a coaxial outlet (the same type used for cable TV). For DSL, you’ll need a phone jack. If you have fiber optic internet, your provider likely installed an ONT box on an exterior or interior wall.
If you can’t find the outlet or aren’t sure which one to use, check any documentation from your ISP or look for outlets in common areas like living rooms, home offices, or utility closets.
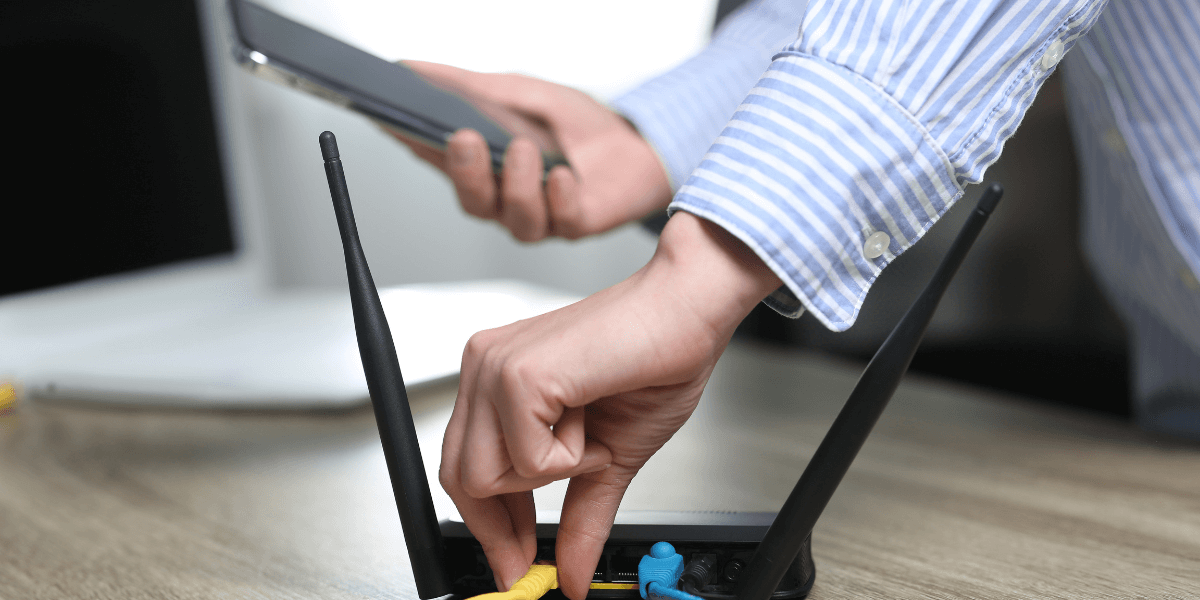
Step 2: Connect Your Modem
Once you’ve found the correct outlet, connect your modem:
- Screw the coaxial cable into both the wall outlet and the “Cable In" or “Coax" port on your modem (for cable internet)
- For DSL, plug the phone cable into the wall jack and the DSL port on your modem
- Connect the power adapter to your modem and plug it into an electrical outlet
- Wait for the modem to power on completely—this typically takes 2-5 minutes
Your modem’s indicator lights will help you track the connection process. Look for lights labeled “Power," “Online," or “Internet" to turn solid (not blinking) once the connection is established.
Step 3: Activate Your Internet Service
Many providers require you to activate your service before you can connect to the internet. There are typically two activation methods:
Online Activation: Visit your provider’s activation website using a device connected to your modem via Ethernet cable. Follow the prompts to register your equipment and activate service.
Phone Activation: Call your provider’s activation number with your account information and equipment serial numbers ready. A representative will activate your service remotely.
Some newer modems activate automatically when you plug them in and turn them on. Check your installation guide to see which method your provider uses.
Step 4: Set Up Your Wireless Router
If your modem doesn’t have built-in Wi-Fi capabilities, you’ll need to connect a separate router:
- Connect an Ethernet cable from one of your modem’s Ethernet ports to the WAN or Internet port on your router (often colored differently or labeled)
- Plug your router’s power adapter into an electrical outlet
- Wait for the router to boot up completely (1-3 minutes)
- Look for the wireless indicator lights to turn on
Many modern gateway devices combine the modem and router into a single unit, eliminating this step entirely.
Step 5: Configure Your Wi-Fi Network
Now it’s time to set up your wireless network:
- Using a computer or smartphone, look for your network name in the list of available Wi-Fi networks
- The default network name (SSID) and password are usually printed on a sticker on the bottom or back of your router
- Connect to the network using the default password
- Open a web browser and type in your router’s IP address
- Log in using the default admin credentials (also on the router sticker or in your setup guide)
For security purposes, immediately change both your network name and password to something unique and memorable. Create a strong password using a mix of letters, numbers, and symbols.
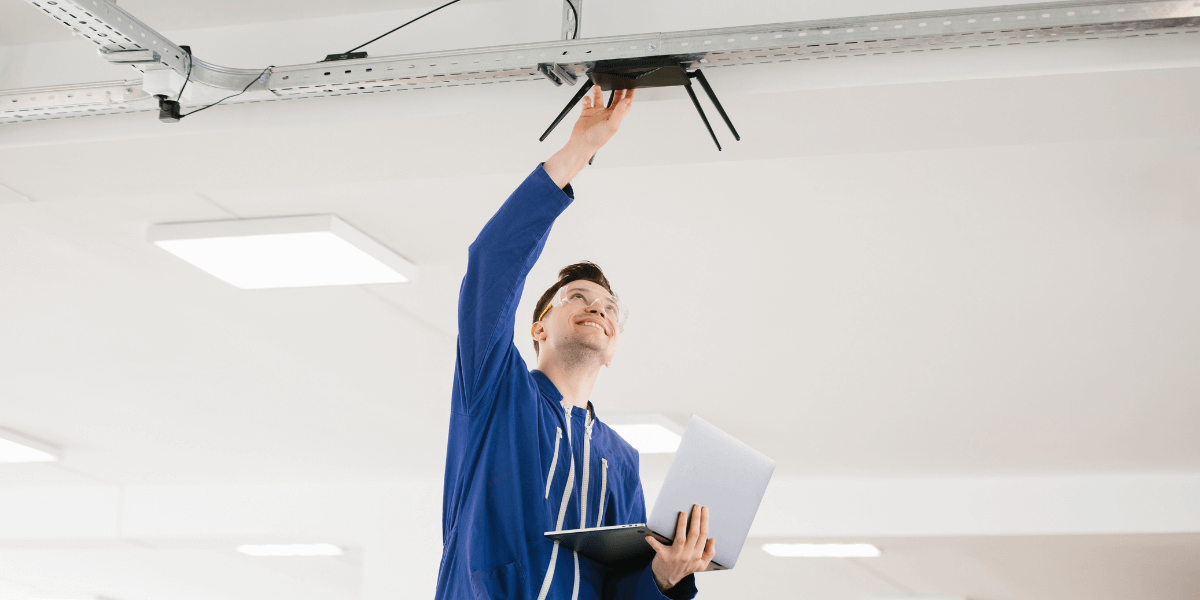
Step 6: Optimize Router Placement
Router placement significantly impacts your Wi-Fi signal strength and coverage. For the best performance:
- Place your router in a central location in your home
- Position it on a shelf or mount it high on a wall (Wi-Fi signals spread down and out)
- Keep the router away from walls, metal objects, and appliances that can interfere with signals
- Avoid placing it near microwaves, baby monitors, or cordless phones
- Don’t hide the router in a cabinet or closet, as this weakens the signal
If you have a larger home or notice dead spots, consider investing in Wi-Fi extenders or a mesh network system to improve coverage.
Step 7: Test Your Internet Connection
After setup is complete, verify that your internet is working properly:
- Connect multiple devices to your Wi-Fi network
- Open a web browser and visit several different websites
- Run a speed test to check your connection speed
- Compare the results to the speeds promised by your internet plan
If your speeds are significantly lower than expected, try the troubleshooting tips in the next section.
Troubleshooting setup problems
Common Setup Issues and How to Fix Them
Even with careful installation, you might encounter some hiccups. Here are solutions to common problems:
No Internet Connection: First, check that all cables are securely connected and that both your modem and router are powered on. Try unplugging both devices, waiting 30 seconds, then plugging the modem back in first, followed by the router after another minute.
Slow Speeds: Restart your modem and router. Move your router to a better location. Check for interference from other devices. Consider upgrading your equipment if it’s more than 3-5 years old.
Can’t Connect to Wi-Fi: Verify you’re using the correct password. Move closer to the router. Restart your device’s Wi-Fi connection. Update your device’s network drivers or operating system.
Modem Lights Not Solid: Give your modem up to 10 minutes to fully boot up and establish a connection. If lights remain blinking or off, there may be a service issue—contact your provider.
Forgotten Router Password: Most routers have a reset button that you can press and hold for 10-15 seconds to restore factory settings. You’ll need to set up your network from scratch again.
When to Call for Professional Help
While most internet installations are straightforward, some situations call for professional assistance:
- You need new wiring or outlets installed in your home
- Your service requires specialized equipment installation (like certain fiber optic setups)
- You’ve tried troubleshooting, but still can’t get online
- You’re setting up a complex home network with multiple access points
- You need to run Ethernet cables through walls or between floors
Don’t hesitate to contact your internet service provider’s technical support if you’re stuck. Many offer free troubleshooting assistance even for self-installed services.
Find the Best Internet Provider for Your Needs
Now that you know how to set up your internet connection, the next step is choosing the right provider and plan for your home. Not all internet providers are created equal, and the options available to you depend on your location, budget, and installation preferences.
Our comparison tool shows you:
- Available providers in your area
- Current speeds and pricing – Compare download/upload speeds and monthly costs side-by-side
- Installation options – View providers offering self-installation kits and professional setup
- Special promotions and deals – Find exclusive offers, bundle discounts, and limited-time savings
- Real customer reviews – Read experiences from actual users in your area
- Contract terms and fees – Understand commitment requirements and hidden costs upfront
Ready to get connected? Enter your zip code in our search tool below to instantly see all internet providers available at your address.
[search_block]
Frequently Asked Questions
How long does it take to self-install internet?
Most people complete self-installation in 30-60 minutes. The process includes connecting your modem to the wall outlet, activating your service, setting up your router, and configuring your Wi-Fi network. Cable and DSL installations are typically faster, while fiber optic setups may take slightly longer depending on your equipment.
Do I need to buy my own modem and router?
Not necessarily. Most internet providers offer equipment rental for $10-15 per month, which includes technical support and free replacements if equipment fails. However, purchasing your own equipment can save you money long-term (typically paying for itself within 1-2 years) and often provides better performance. Just make sure any equipment you buy is compatible with your provider’s network.
What internet speed do I need for my household?
It depends on your usage and the number of devices. For basic browsing and email, 25-50 Mbps is sufficient. Streaming HD video requires 25-50 Mbps per device. For households with 3-5 people streaming, gaming, and video conferencing simultaneously, aim for 200-500 Mbps. Remote workers and heavy gamers should consider 500 Mbps or higher for optimal performance.
Sources
[1] Usatoday.com. “How to Set up New Home Internet"
[2] Move.org. “Set Up Internet"
[3] Edu.gcfglobal.org. “Internet Basics: Set up a wifi network."